Meredith Nash Squarespace Website Instructions
Squarespace website www.meredithnash.com has been set up, designed and built so that it is quite easy to manage the content and edit certain elements on pages.
Structure
The site consists of the following elements:
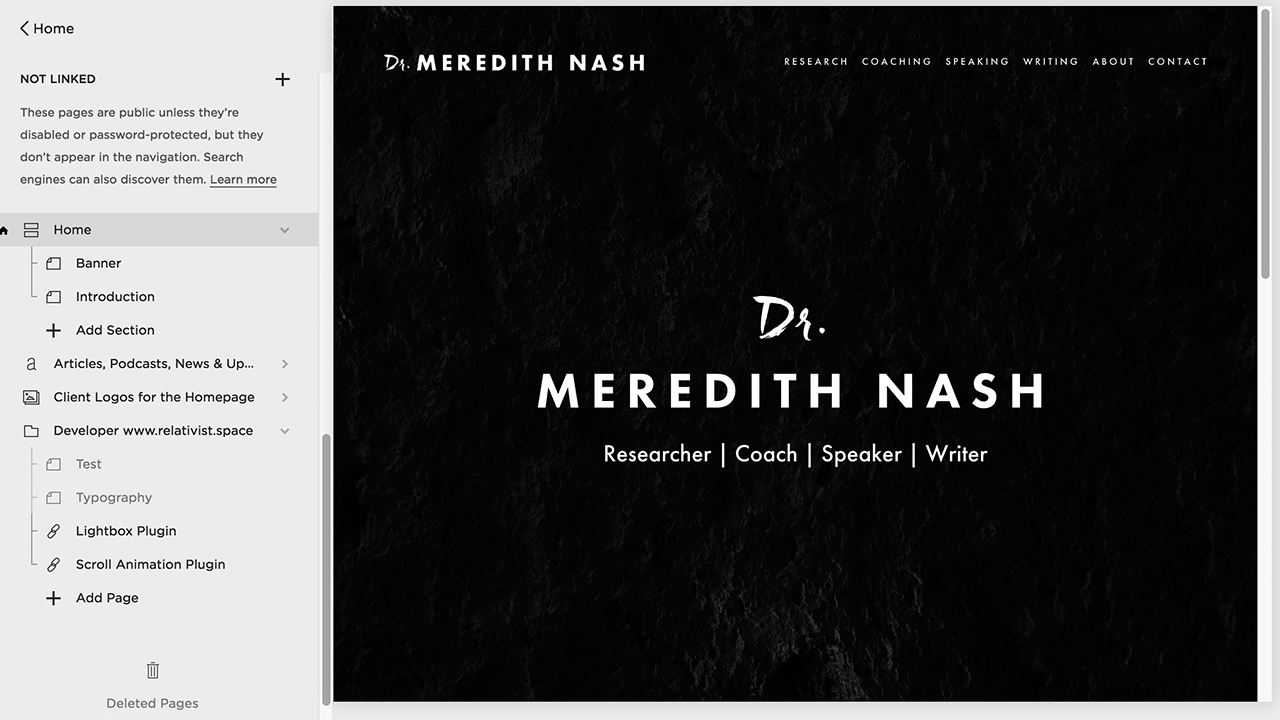
1. NOT LINKED pages (not accessible by external users):
Homepage Index (landing page, scrollable, consist of two separate pages - Banner and Introduction). Accessible by clicking on the logo, doesn't have a link in the main navigation.
Blog "Articles, Podcasts, News & Updates" (serves only for displaying elements as summaries on certain pages; clickable and linked to sources).
Gallery "Client Logos for the Homepage" (serves only for displaying client logos on the Homepage as a row of elements; clickable and linked to sources). To add a new logo, resize the logo on a transparent background down to 500px x 191px and make sure it's properly centred. Upload a PNG file to the Gallery, type the file name for SEO and in Options tab, paste a click-through URL to the source. Once you posted a new item and changed the total number of logos in the section on the Homepage please go to that section and in gallery settings, change the number of items in a row.
Click to zoom
Click to zoom
Folder "Developer www.relativist.space" with plugin files and some other developer assets. Please do not delete any of those.
Instructions page
Deleted pages - if you occasionally delete a page you will be able to restore it in one click. Deleted pages will be in the Bin for 30 days.
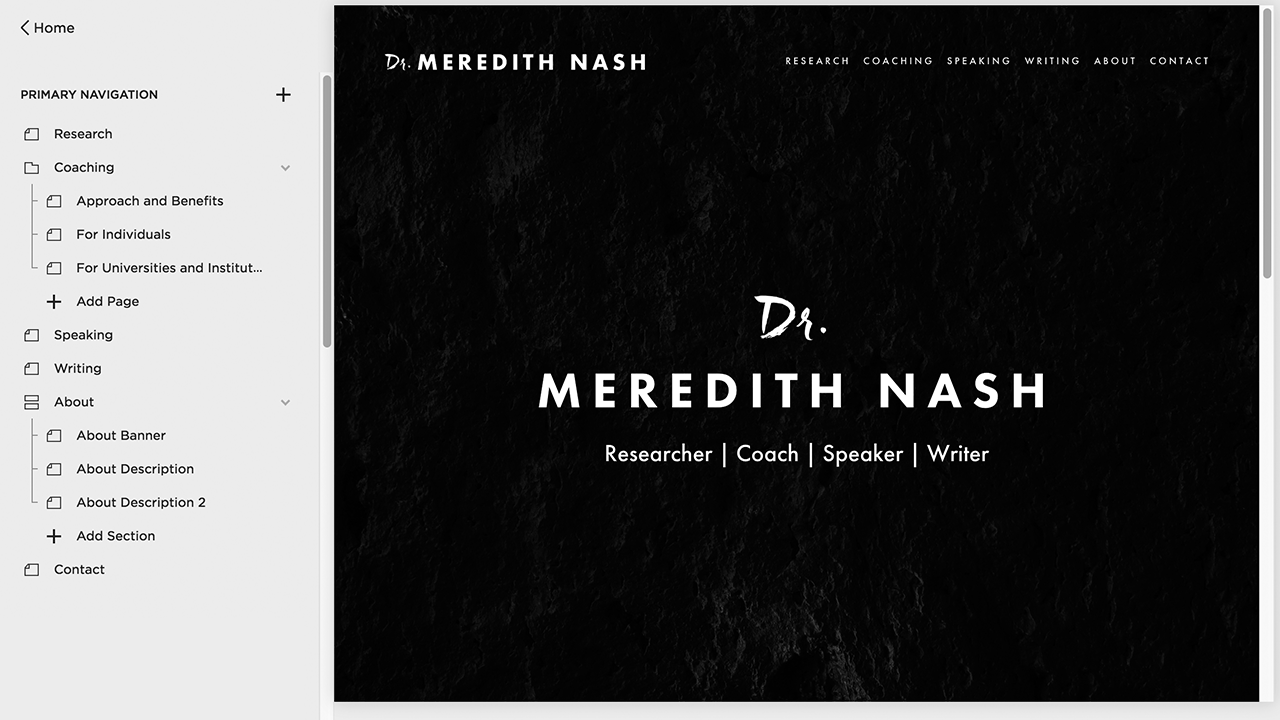
2. PRIMARY NAVIGATION (elements accessible from the main navigation):
Research page
Coaching folder with 3 sub-pages
Speaking page
Writing page
About Index (scrollable; consists of Banner and two subsections)
Contact page.
NB: Please note that changing the site structure may affect its appearance, especially in regards to the pages within the Index structure. Also, if you ever decide to change your template please make sure that you drag all elements from the PRIMARY NAVIGATION down to NOT LINKED section. Otherwise, you may lose those forever.
Content Management & Editing
You can edit any written content on pages, simply click "Edit" and insert a new text block or edit existing text. You can use a full variety of features of the built-in Squarespace text editor - 4 type of preset fonts, lists, alignment, etc.
N.B.: If you are copying & pasting the text please make sure you use "Paste as Plain Text" button:

You can add many other elements to your pages - buttons, images, videos, galleries, summaries, forms, social feed blocks, etc.The most important type of content that you will be constantly updating is summary blocks on Research page, Speaking page, and Writing page (and also, News & Updates). All articles, publications, podcasts, research works, etc. you will be adding to the site through one blog - "Articles, Podcasts, News & Updates".
Uploading Elements to the Blog "Articles, Podcasts, News & Updates"
1. Posting in "Research".
Go to the Blog "Articles, Podcasts, News & Updates" in NOT LINKED section and click "+" to add a new element
Type / paste the Title
Select a Category
Select a relevant thumbnail from the folder “Meredith Nash Assets” (you can download assets using the button at the bottom of this page). Those thumbnails we display only for podcasts on “Speaking” page. However, it helps to navigate when each “post” has a thumbnail with infographics
Type / paste the source link (it will work as a click-through URL)
Check "Post Title should link to Source URL"
Type / paste some excerpt text
Click “Save” to save it as a draft or “Save & Publish”
Once it’s posted, you can click “Edit” and change the date or customise Post URL if needed. The blog posts are displayed in chronological order form the earliest to the latest. Ideally, you’d set up an actual date when your work has been published / featured.
2. Posting in "Speaking".
Make sure you upload a thumbnail with infographics as we are displaying blog post thumbnail on “Speaking” page.
3. Posting in "Writing".
Use a thumbnail image from the external source or make a screenshot of the online source page
Assign metadata to the thumbnail (f.ex., title + source) for better SEO results (optional)
Upload the thumbnail, crop for 3:2 and resize down to 600px max in width (for the faster loading speed). You can use a built-in image editor.
You can type / paste the source link (it will work as a click-through URL) or you can link it to a PDF file that will be opening in the new tab.